
Preparing the face and skin is just as important as the actual make-up that you apply. When the skin is not prepared well enough, your make-up will look runny and won’t last very long!
I enjoy LISTS (I find it easier to understand!) so here are the steps to prepare your skin…
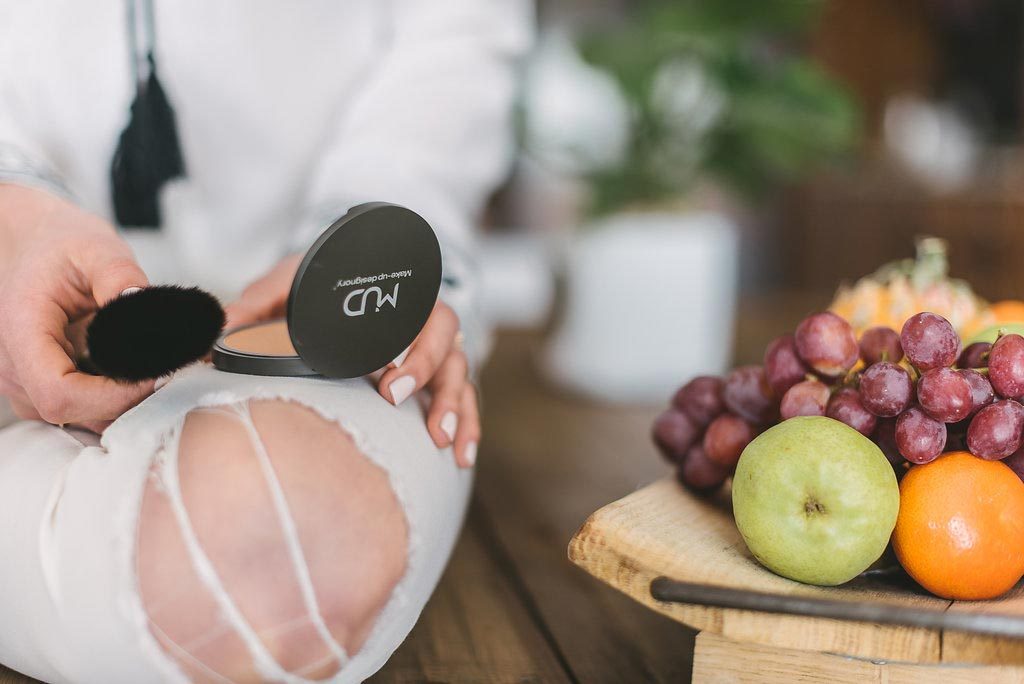
1. Foundation
MUD foundation is a compact foundation – apply with a sponge or a foundation brush.
I’ve found that the YG2 works on many skins! That is the colour I use. If you have a slightly lighter skin CB3 will work. Both are available on the shop now. There are many colour foundations, but I’ve found that these two work well on most people -amazingly!
Apply foundation on the eye lid as well as on the lips.
2. Powder
Powder is the secret weapon to the ” It’s 5pm and my make-up is still on” look! I know you’re thinking… eeek… powder… for old ladies, yes? Not at all! You MUST apply powder on the eye-lid and a little bit around the eye to make the shadow stay on the entire day. It’s a game changer – trust me. Make sure you’re using a LOOSE powder. No gels, 2 in 1’s, mixtures, compact powders etc. Just an old school loose powder.
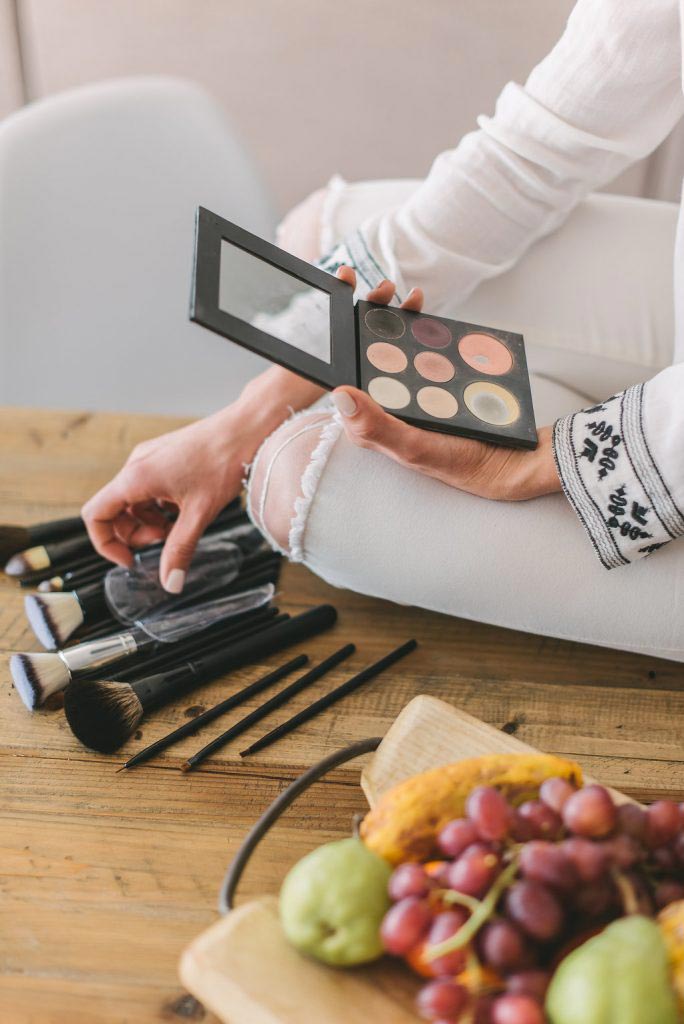
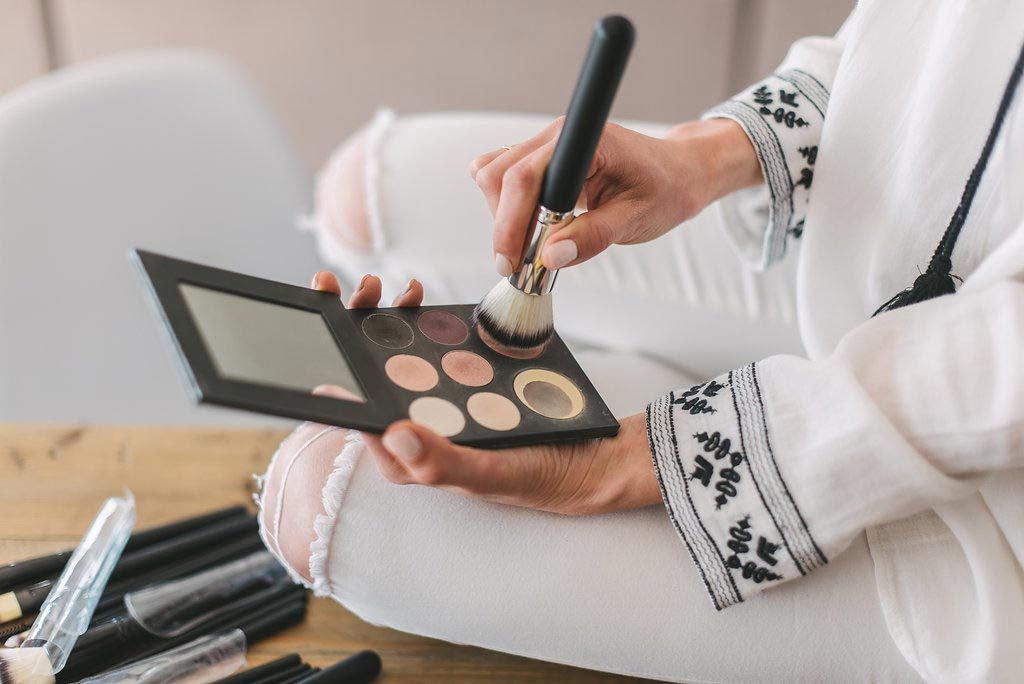
This is my eight hole pallet! I’ve added an eight hole pallet to the shop with the perfect colour combination for a neutral look. The six small shadows are for your eyes (next blog post.) The bottom left is a highlighter – refer to point number 5. The bottom right is a blusher – refer to point number 4.

Are you familiar with contouring? Perhaps you’ve seen it in magazines or heard the word. I’d like to encourage you to start making contouring a verb and part of your make-up routine. Daily! Contouring is when you use various shadows (like bronzer, blusher, highlighter etc.) to give more shape to the face. You can make your forehead look smaller, nose slimmer, cheekbones deeper etc by shading your face. Bronzer (3), blush(4) and highlighter (5) are all part of contouring the face.
3. Bronzer
Using your biggest brush, apply bronzer in a figure 3. Forehead, cheekbones and under the cheekbone.
Use big strokes!
Go over and over the same figure 3 until your bronzer is smooth
If you don’t like your nose, apply some bronzer on the sides. You can apply bronzer on any “large” area you would like to appear smaller!
4. Blusher
I’ve seen many of my clients avoiding bronzer and blush out of the fear to look ORANGE! Blush in the past was used for colour. It can be, if it is used on the apple of the cheek. However, blush for contouring should be used under the cheekbone! Use a neutral colour (like the colour that is part of my 8-hole pallet) with a medium sized brush. Apply right up to the ear.
5. Highligher
Apply on the cheekbone and under the eye!
Pictured above and below you’ll see my big brush for bronzer.


It may sound alot! Rest-assured, if I make-up myself from beginning to end, it take no more than 10 minutes – and that’s with Hazel on my lap (not sitting still!)

I’ll make a video soon to support this blog post.
Stay tuned, next blog post we’re doing EYES!
xxxx Minnette xxxx
There are no reviews yet.